So, decided to take a few pics of my installation process. There's a bunch of 2nd gen writeups out there, but I wanted to make a 1st gen one; they follow the same step process, but I always find walkthroughs easier to follow if they are more similar to what I'm working with....
I bought my projectors from RMYC
He was great to work with, got all of my stuff quick, with insured tracking numbers, and he helped with all my retro noob questions. If you want a budget retro he's your guy.
TheRetrofitSource is another great retrofit source (aha!) that is a huge forum supporter.
So here it goes:
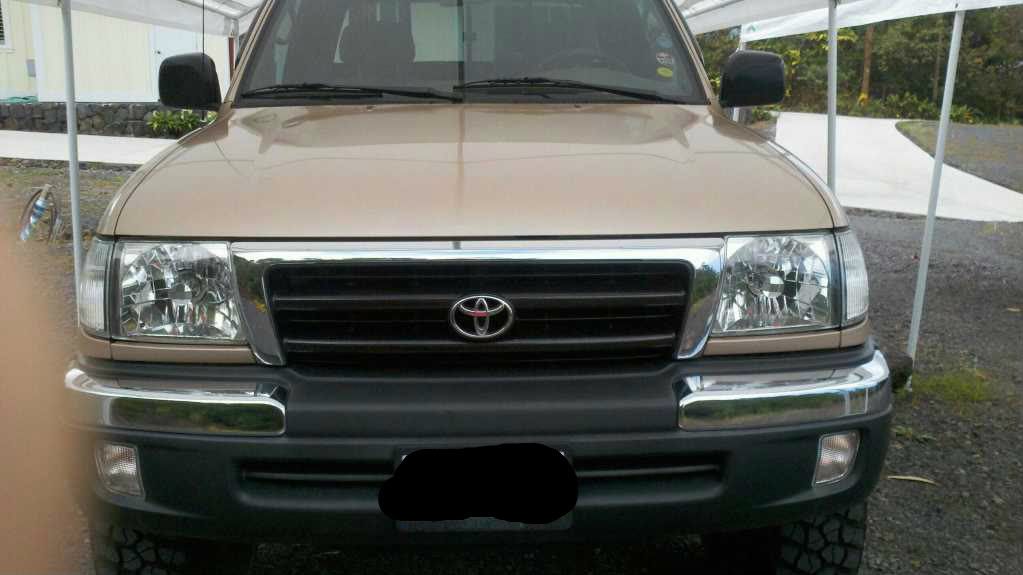
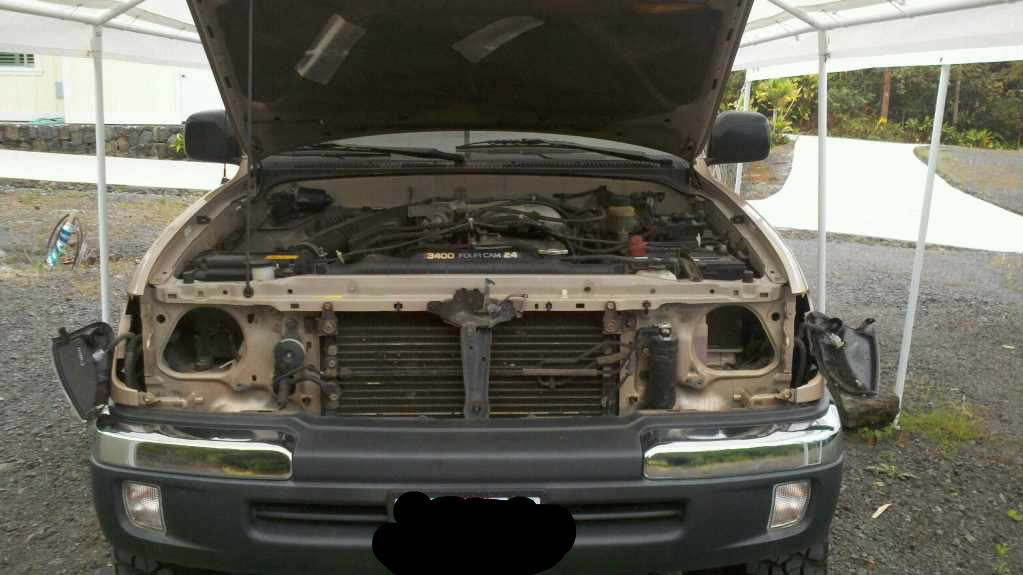
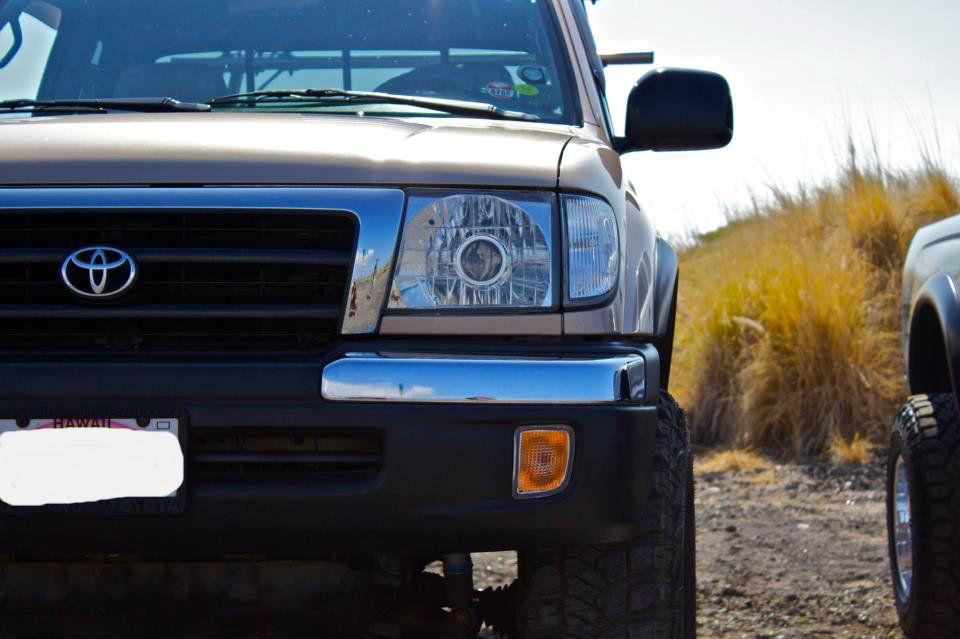
Starting with this, save your truck from the giant finger-monster and admire how awesome your truck looks; and know that in a few hours it will totally awesome-er.
Next, take apart the front end of your truck. I used this vid when I installed my headlights a few years ago, and puts everything into pretty easy to understand instructions.
[ame="http://www.youtube.com/watch?v=G_4RUm_RWnk"]How To Replace Headlight Assembly 1997-2000 Toyota Tacoma - YouTube[/ame]
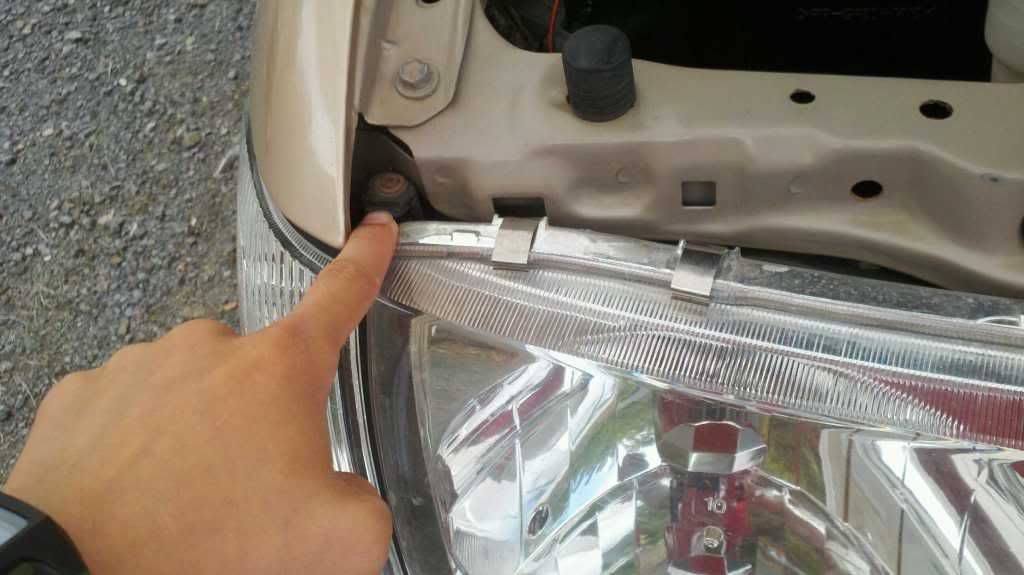
Just a few pics, instructions are in the video. Take off everything I'm pointing to:
(To remove parking light, remove this screw, then pull the parking light straight out. There's a clip that holds the bottom in place that can be stubborn; I stuck a screwdriver between the headlight assembly and the parking light and wedged it out. Careful not to scratch the headlight.)
There'll be 2 nuts here, take them off.
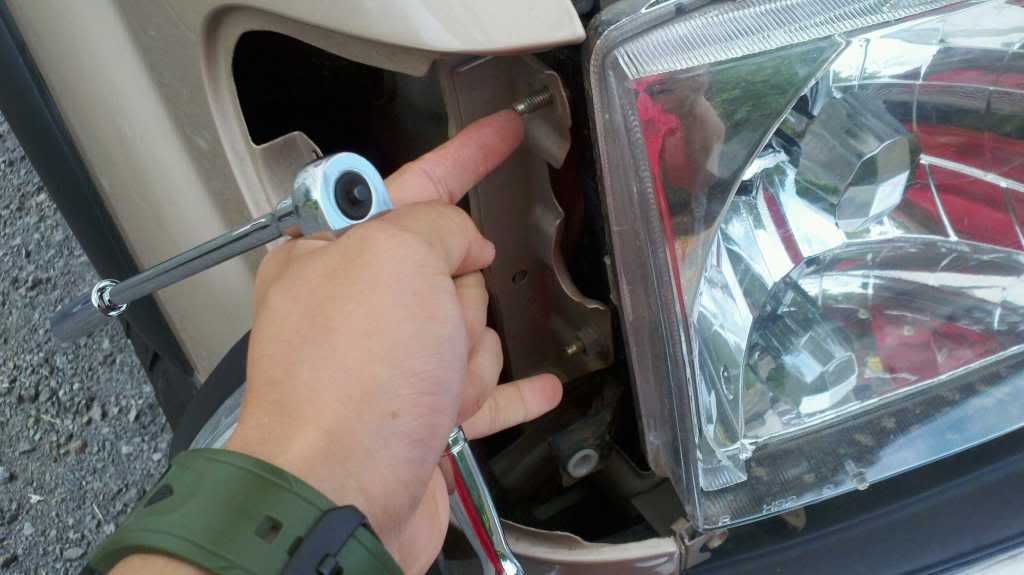
This body panel is held on by the bolt facing towards the grille, take that off (As seen in the vid) the take the panel off by gently tugging from the bottom upwards. Careful not to bend the panel.

Once the panel's off, it'll expose a bolt way on the inside here so make sure you have an extender.
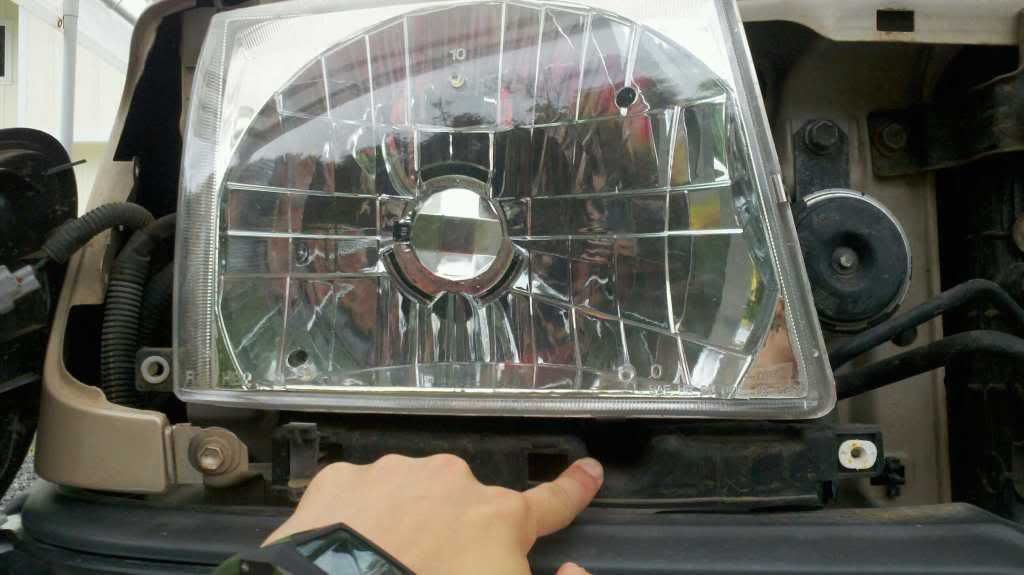
Take the headlight assembly out, repeat the steps for the other side and realize your truck looks like a zombie.
Next, remove the clips on the headlight assembly with a flat head screwdriver
Once theyre off, clean off your headlight assembly (mine were still muddy from going bogging a few months ago
 )
)
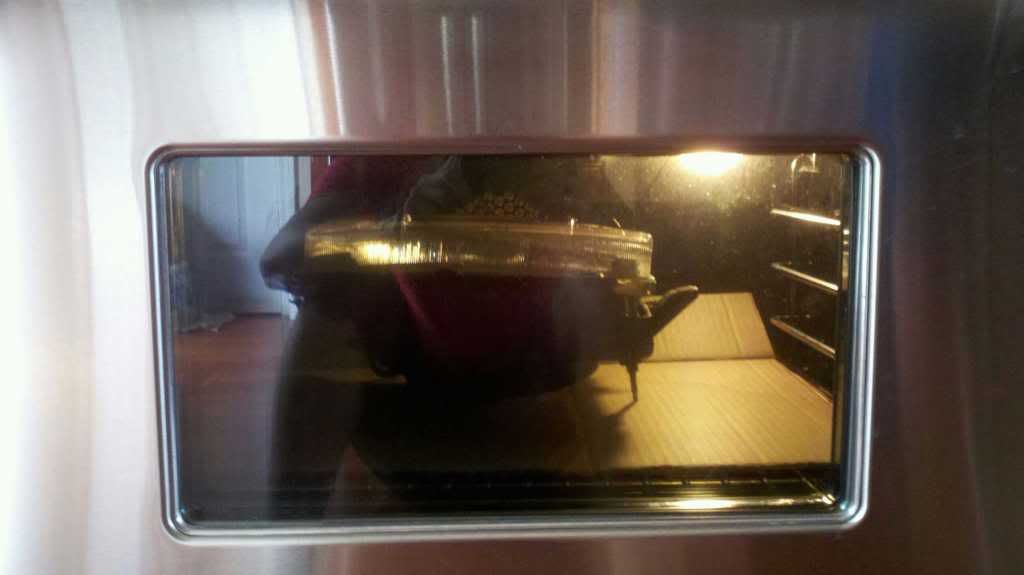
and throw them in the oven, on top of some cardboard.
Heat the oven to 250 (Others say to use 275, and 7 minutes. But I'm a wuss)
Turn the heat off
throw the headlight in there
Take it out after 10 minutes
Take it out of the oven quickly (watch out, it's HOT!)
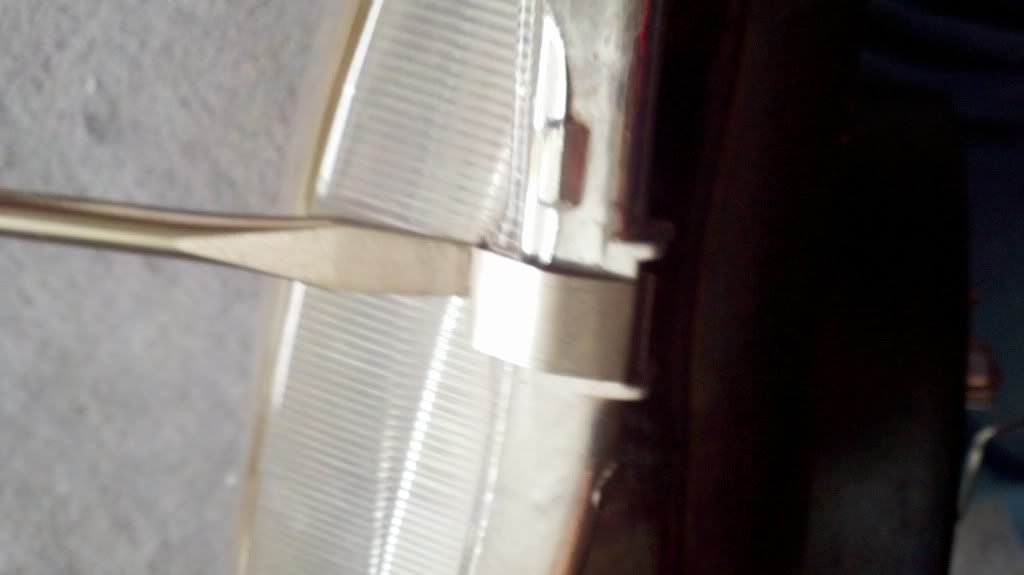
and begin prying the plastic cover off with a flat head screwdriver. I found it easiest to start at the corner and work my way around, then peeeel the cover off.
Once the cover is off, remove all the hardware from the back of the housing, and remove the H4 bulb shield.

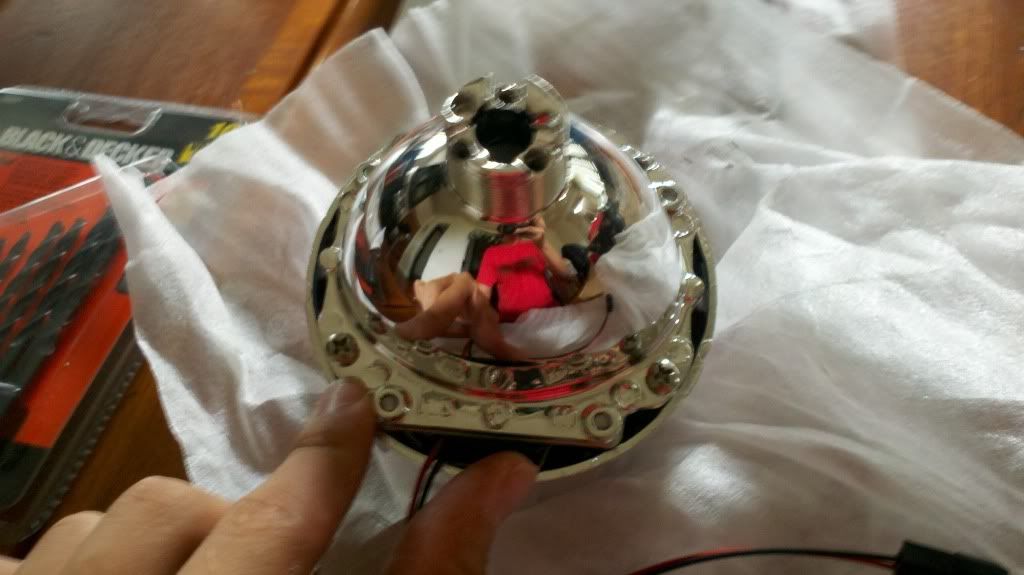
After the cover was off, I began to assemble my projectors.
The Gatling Gun shrouds are held on the projector by 4 screws. The shroud holes for the screws and the holes that are on the projector only line up a certain way, make sure all 4 holes line up or...they wont line up (duh?)
Note:
CLEAN THE PROJECTOR BEFORE ATTACHING THE SHROUD, WITH A GOOD MICROFIBER CLOTH.
I used alcohol on tissue. Now I have tiny bits of dust on the inside of my projector. Doesn't affect light output but annoys the hell out of my OCD.
When I was assembling my projectors, I tried pre-fitting everything to make sure I knew what to do and that I had all the hardware.
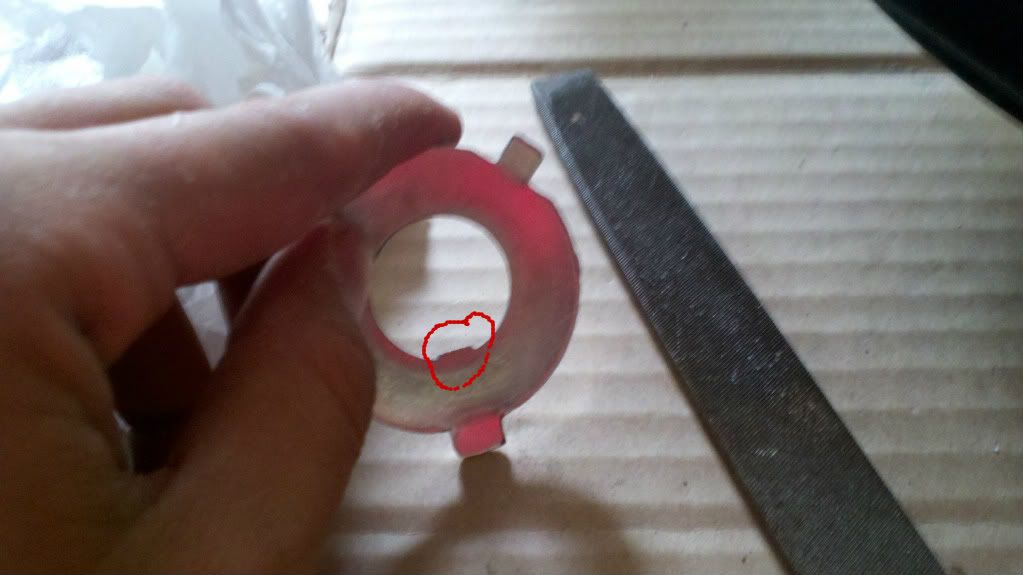
I noticed that my h4 plate did not fit onto my projector threads; the nub (in red) that lines up with the channel on the projector was sliiiiiightly too large. There was still a tiny bit of burrs on the nub that prevented it from mating with the channel. A few minutes of filing cleared that all up
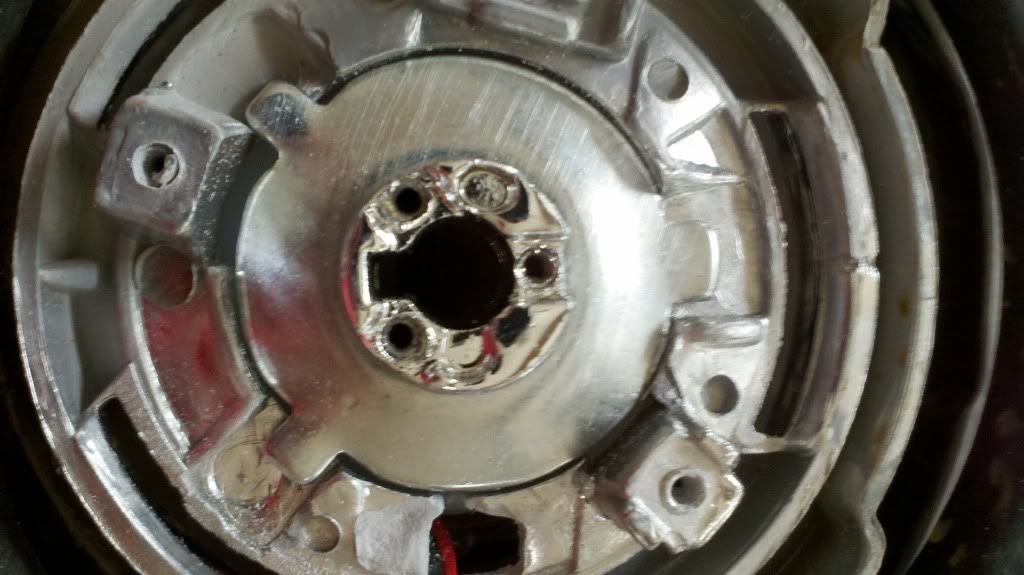
Next, place the large silicone washer onto the projector, and slide that through the opening of the headlight assembly.
The h4 plate only fits one way on the assembly, making it dummy proof.
The hi-beam shield lines up on the bottom of the light, and the channel goes to the 12 o'clock position.
To clear up any dummy confusion (I was slightly confused) the shield goes on the bottom because of the mechanics of how the lens on the projector works. Like a looking through a magnifying glass, the image that goes through the glass is flipped upside down; so the shield on the bottom shields light from shooting upwards.
Then, I placed the small silicone washer, then the locking nut.
Also note:
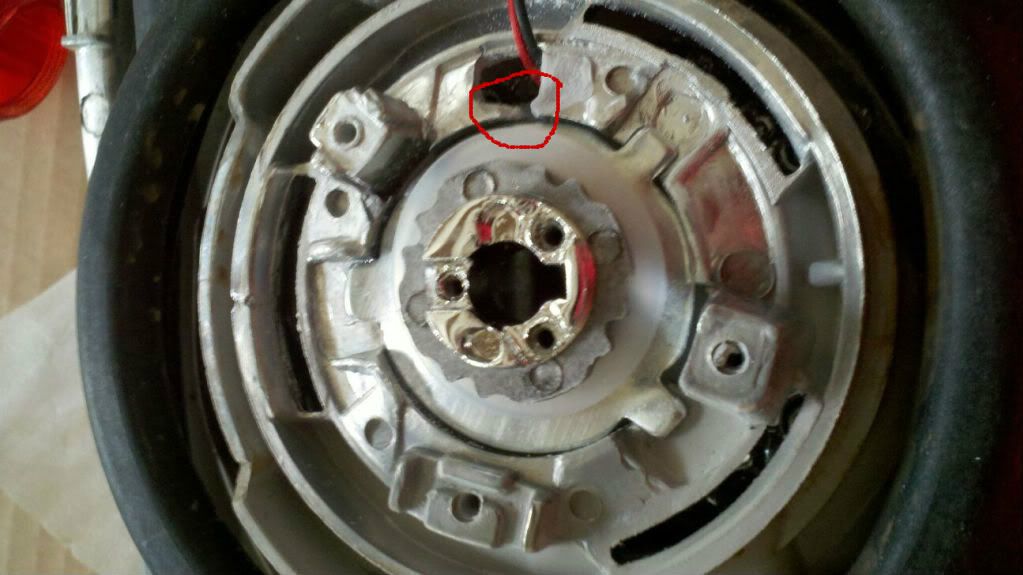
To run the hi/lo switch cleanly through the assembly, I cut off the nub on the housing that used to hold the securing wire for the h4 bulbs, then cut a small channel into the existing hole in the housing. Then I just slipped the wires/hi/lo switch through. (Seen in red)
If you instead choose to widen the hole be careful not to make it too wide; you can start to cut into the reflector housing on the opposite side
After the locking nut is in place, place the clear cover lens back onto the headlight assembly in it's general original position. Gently press it into place, then throw that sucker back into the oven.
250, off, insert light, 10 mins.
Note:
CLEAN THE INSIDE OF THE HOUSING BEFORE INSERTING BACK INTO OVEN. SAVE YOURSELF THE TIME!
I forgot to clean the housing... those tiny bugs that managed to get inside and die are still there.
Once the glue is nice and heated again (Im cheap, didn't buy the extra glue; turns out I was lucky and had enough for a good seal)
use a pair of pliers and press the lens back into place

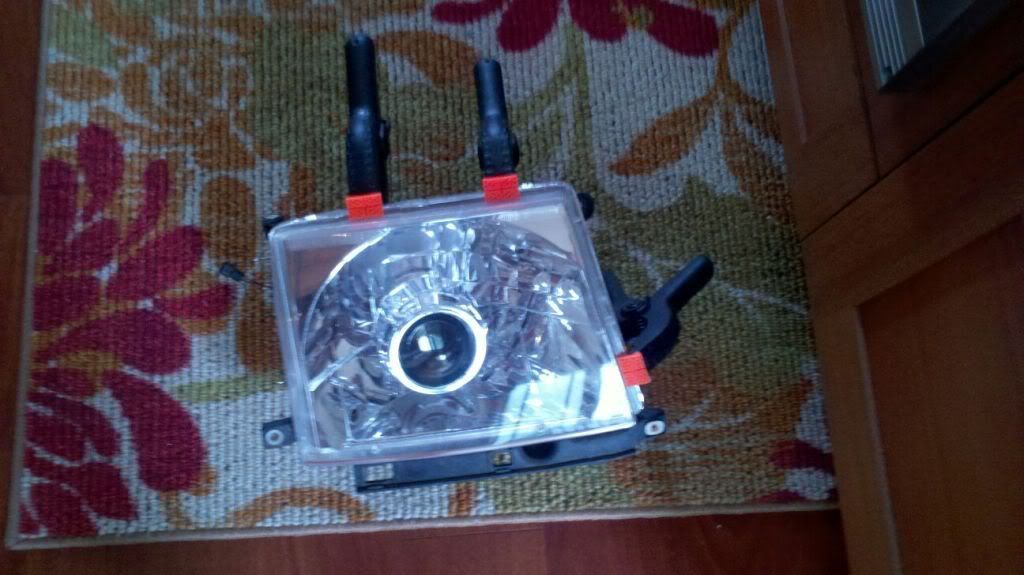
then clamp the housing till the glue cools. I clamped them for a good 45 mins each.
Note:
due to the shape of these headlamps it will be difficult to find places to clamp... I squeezed the bottom corner you see without clamps, and placed weights on it (Again, no pics! sorry) but think a towel with some heavy books. You might not run into this problem if you have good clamps though, I had crappy ones, as you can see.
Now, attach the hardware to mount the bulb (should be 3 screws, one securing wire) and you're done! Just reverse the steps you took to remove the headlight assemblies, make sure you dont lose any bolts!
The H1 bulb is run just like any other HID; except that the hi function/switch comes from the projector itself.
The h1 bulbs come with spade connectors and a direct power connection to the ballast. Since our trucks have no spade connectors (originally h4) and you're using a relay to power the hi/lo, just pull them from the grommet.
Now, adjust your headlights and enjoy!
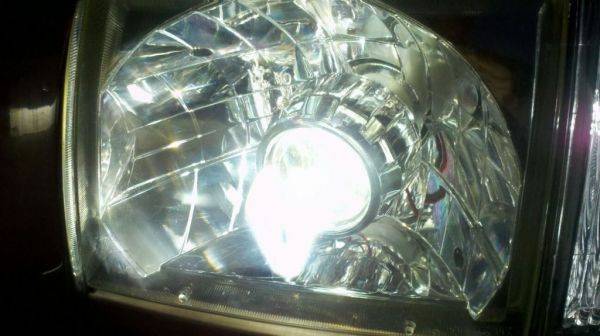
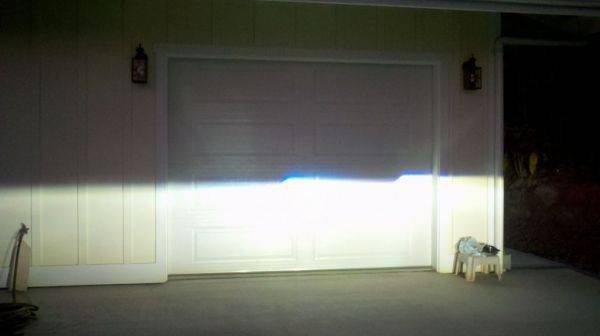
After the install, some have found that their high beam shield is always raised when the light is on, which can cause problems driving onroad.
If you have this problem, refer to here
http://www.tacomaworld.com/forum/1s...lkthrough-morimoto-mini-h1-3.html#post4871514
Switching your wires to match the diagram/picture should remedy the problem.
(A big thanks to Snowman!)
I bought my projectors from RMYC
thanks for write up
getting projectors from me would be
$90 projector (http://www.tacomaworld.com/forum/buy-sell-trade/193216-fs-morimoto-mini-h1-bi-xenon-projectors.html)
$30 hid kit ddm
$15 hi/lo harness from ebay
$135, thats the cheapest possible retro
He was great to work with, got all of my stuff quick, with insured tracking numbers, and he helped with all my retro noob questions. If you want a budget retro he's your guy.
TheRetrofitSource is another great retrofit source (aha!) that is a huge forum supporter.
So here it goes:
Starting with this, save your truck from the giant finger-monster and admire how awesome your truck looks; and know that in a few hours it will totally awesome-er.
Next, take apart the front end of your truck. I used this vid when I installed my headlights a few years ago, and puts everything into pretty easy to understand instructions.
[ame="http://www.youtube.com/watch?v=G_4RUm_RWnk"]How To Replace Headlight Assembly 1997-2000 Toyota Tacoma - YouTube[/ame]
Just a few pics, instructions are in the video. Take off everything I'm pointing to:
(To remove parking light, remove this screw, then pull the parking light straight out. There's a clip that holds the bottom in place that can be stubborn; I stuck a screwdriver between the headlight assembly and the parking light and wedged it out. Careful not to scratch the headlight.)
There'll be 2 nuts here, take them off.
This body panel is held on by the bolt facing towards the grille, take that off (As seen in the vid) the take the panel off by gently tugging from the bottom upwards. Careful not to bend the panel.
Once the panel's off, it'll expose a bolt way on the inside here so make sure you have an extender.
Take the headlight assembly out, repeat the steps for the other side and realize your truck looks like a zombie.
Next, remove the clips on the headlight assembly with a flat head screwdriver
Once theyre off, clean off your headlight assembly (mine were still muddy from going bogging a few months ago
and throw them in the oven, on top of some cardboard.
Heat the oven to 250 (Others say to use 275, and 7 minutes. But I'm a wuss)
Turn the heat off
throw the headlight in there
Take it out after 10 minutes
Take it out of the oven quickly (watch out, it's HOT!)
and begin prying the plastic cover off with a flat head screwdriver. I found it easiest to start at the corner and work my way around, then peeeel the cover off.
Once the cover is off, remove all the hardware from the back of the housing, and remove the H4 bulb shield.
After the cover was off, I began to assemble my projectors.
The Gatling Gun shrouds are held on the projector by 4 screws. The shroud holes for the screws and the holes that are on the projector only line up a certain way, make sure all 4 holes line up or...they wont line up (duh?)
Note:
CLEAN THE PROJECTOR BEFORE ATTACHING THE SHROUD, WITH A GOOD MICROFIBER CLOTH.
I used alcohol on tissue. Now I have tiny bits of dust on the inside of my projector. Doesn't affect light output but annoys the hell out of my OCD.
When I was assembling my projectors, I tried pre-fitting everything to make sure I knew what to do and that I had all the hardware.
I noticed that my h4 plate did not fit onto my projector threads; the nub (in red) that lines up with the channel on the projector was sliiiiiightly too large. There was still a tiny bit of burrs on the nub that prevented it from mating with the channel. A few minutes of filing cleared that all up
Next, place the large silicone washer onto the projector, and slide that through the opening of the headlight assembly.
The h4 plate only fits one way on the assembly, making it dummy proof.
The hi-beam shield lines up on the bottom of the light, and the channel goes to the 12 o'clock position.
To clear up any dummy confusion (I was slightly confused) the shield goes on the bottom because of the mechanics of how the lens on the projector works. Like a looking through a magnifying glass, the image that goes through the glass is flipped upside down; so the shield on the bottom shields light from shooting upwards.
Then, I placed the small silicone washer, then the locking nut.
Also note:
To run the hi/lo switch cleanly through the assembly, I cut off the nub on the housing that used to hold the securing wire for the h4 bulbs, then cut a small channel into the existing hole in the housing. Then I just slipped the wires/hi/lo switch through. (Seen in red)
If you instead choose to widen the hole be careful not to make it too wide; you can start to cut into the reflector housing on the opposite side
After the locking nut is in place, place the clear cover lens back onto the headlight assembly in it's general original position. Gently press it into place, then throw that sucker back into the oven.
250, off, insert light, 10 mins.
Note:
CLEAN THE INSIDE OF THE HOUSING BEFORE INSERTING BACK INTO OVEN. SAVE YOURSELF THE TIME!
I forgot to clean the housing... those tiny bugs that managed to get inside and die are still there.
Once the glue is nice and heated again (Im cheap, didn't buy the extra glue; turns out I was lucky and had enough for a good seal)
use a pair of pliers and press the lens back into place
then clamp the housing till the glue cools. I clamped them for a good 45 mins each.
Note:
due to the shape of these headlamps it will be difficult to find places to clamp... I squeezed the bottom corner you see without clamps, and placed weights on it (Again, no pics! sorry) but think a towel with some heavy books. You might not run into this problem if you have good clamps though, I had crappy ones, as you can see.
Now, attach the hardware to mount the bulb (should be 3 screws, one securing wire) and you're done! Just reverse the steps you took to remove the headlight assemblies, make sure you dont lose any bolts!
The H1 bulb is run just like any other HID; except that the hi function/switch comes from the projector itself.
The h1 bulbs come with spade connectors and a direct power connection to the ballast. Since our trucks have no spade connectors (originally h4) and you're using a relay to power the hi/lo, just pull them from the grommet.
Now, adjust your headlights and enjoy!
After the install, some have found that their high beam shield is always raised when the light is on, which can cause problems driving onroad.
If you have this problem, refer to here
http://www.tacomaworld.com/forum/1s...lkthrough-morimoto-mini-h1-3.html#post4871514
Switching your wires to match the diagram/picture should remedy the problem.
(A big thanks to Snowman!)
Last edited:
