Yotakid's '00 TRD build

YotaKid

Teen Taco Driver
Well I have an old build on TW, but i figure I'll share it here as well. Hopefully I'll do a little better job on this page, but it will basically be copied from there.

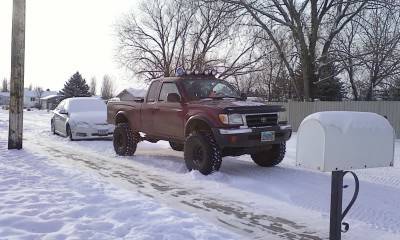
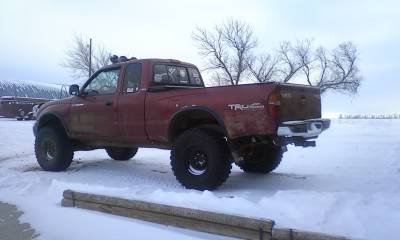
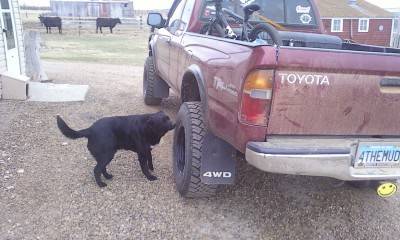
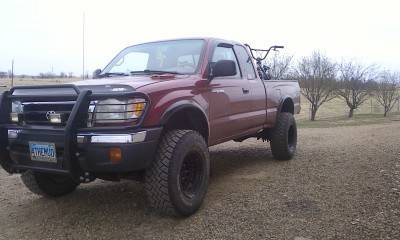
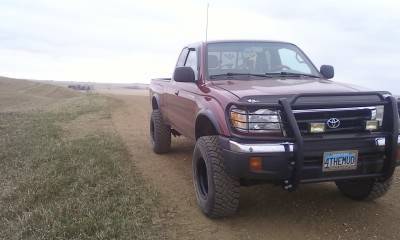
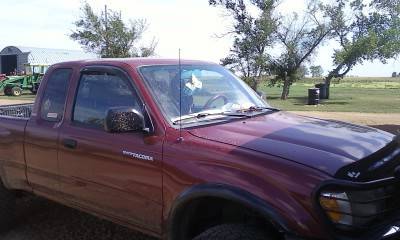
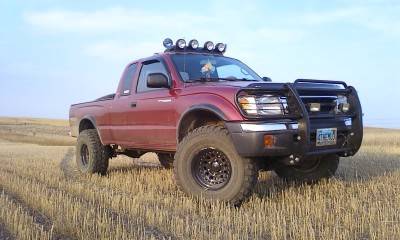
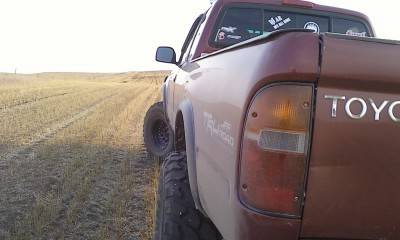
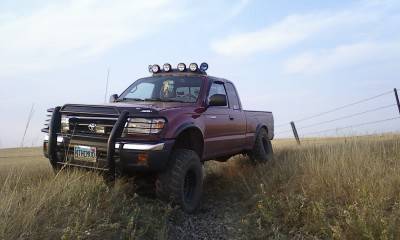
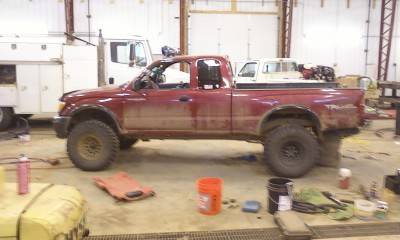
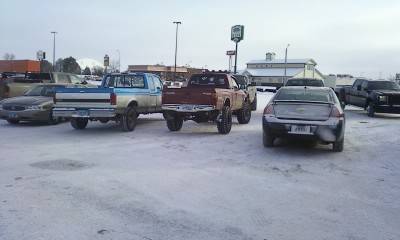
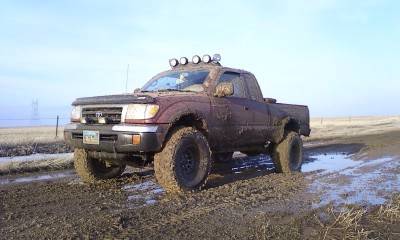
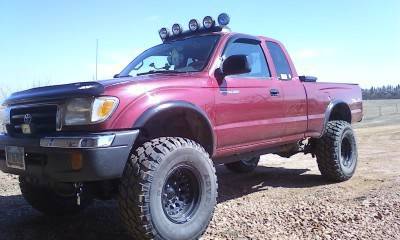
The first toyota we got was my mom's 2000 4runner, and since then we've been pretty much a toyota family since. I got my tacoma 2 years ago July (2011) and I've been in love with the freakin thing since, modding every chance I get. It's turned into a mall crawler/semi capable/budget/highschool build. (I appologize in advance for the horrible pictures).

So here we go...

Specs:
2000 Xtra cab Tacoma
3.4L
TRD Package
Tow Package

Day I brought it home (bone stock)
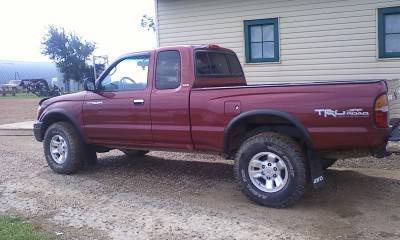
Photo071911071.jpg


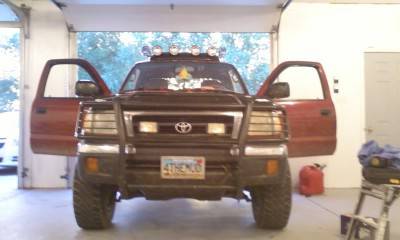
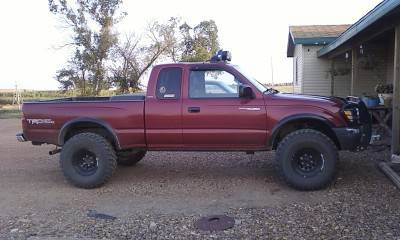
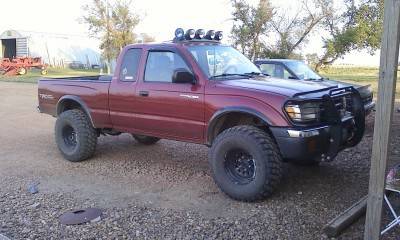
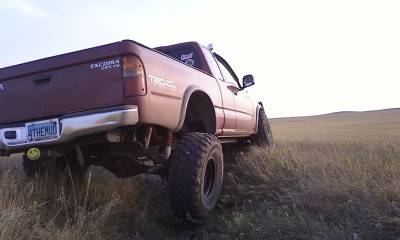
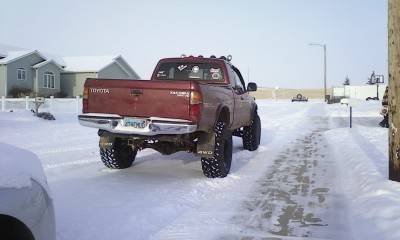
As it sets today:

Photo12271355.jpg

Photo12301512.jpg


Mod List

Wheels'n'tires

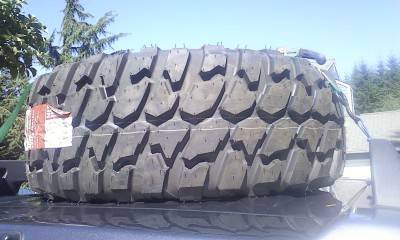
33x12.50 GT radial Adventuro M/t's - $775

Outlaw 15x10 3.5 bs -$150

Suspension/lift

3" coilover spacer- $150 (came with blocks which are no longer on the truck)

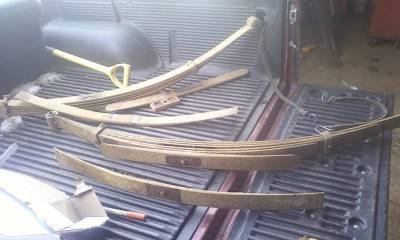
stock leaf Pack+2 Ford Leafs

2" body lift (don't hate) - $50 used from a TW member

Relocated Shocks

Skyjacker Nitro rears- $90

Monroe Sensitrac fronts- $186

Audio

Kenwood Head unit- $200 installed

15" eclipse sub - free after working for a neighbor

760 watt pioneer amp - $60

Lighting

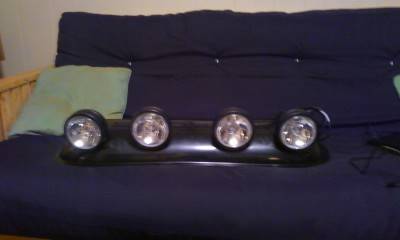
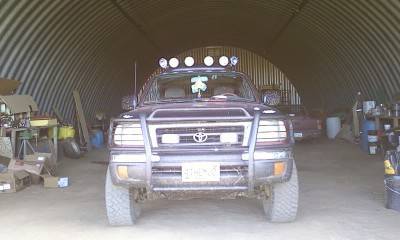
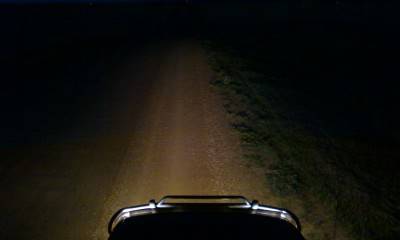
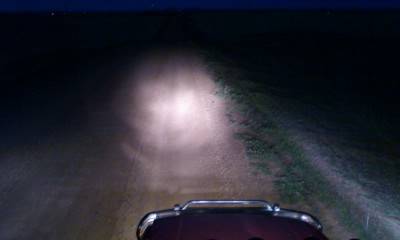
Ebay Lightbar- $70

blue lense O'reilly fogs- $20

Cheapo walmart fogs - $20

Other

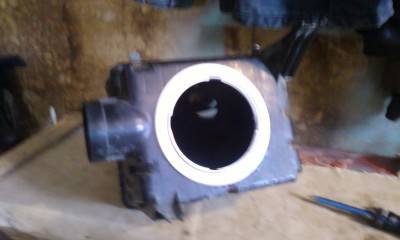
Deckplate mod-$15

Grey Wire mod- $0

Chopped antennae-$0

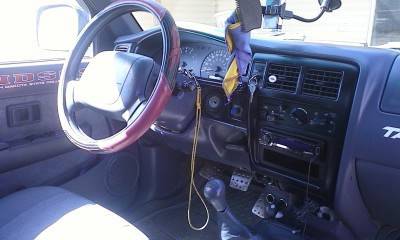
Billet Race Pedals-$20

Auto Accessories Seat covers-$20

Steering Wheel cover-Can't remember (cheap)

Pontiac Hood struts- free (junkyard)

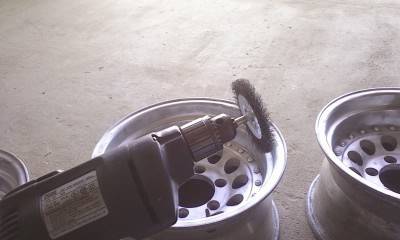
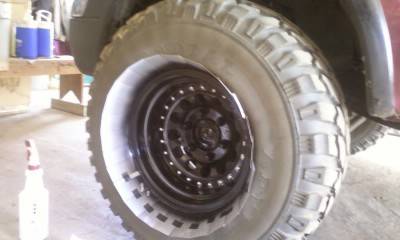
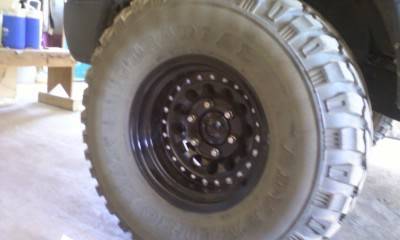
Painted Rims- $30 about with all the paint, primer, wire wheels, sandpaper, and clearcoat

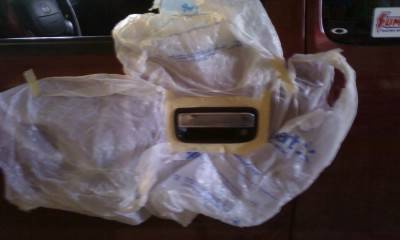
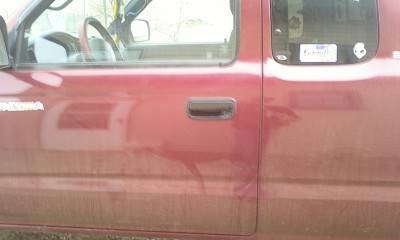
Blacked out Door handles - Leftover paint from the rims

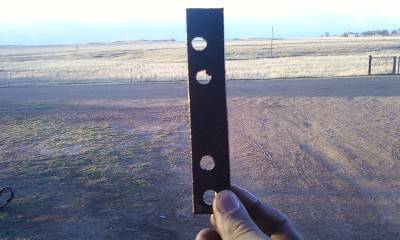
BPV bracket - $0 (scrap metal)

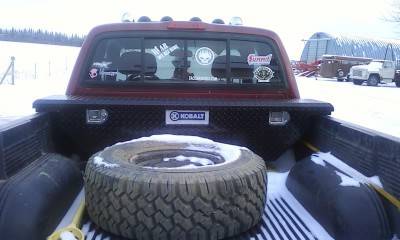
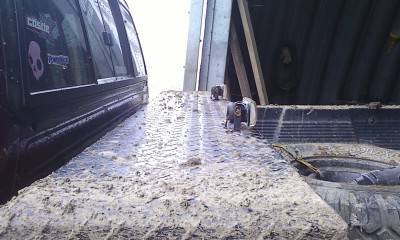
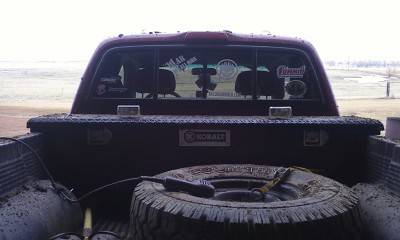
Kobalt Low-Pro toolbox - xmas present

Pictures! (no particular order)

3" lift spacers/blocks
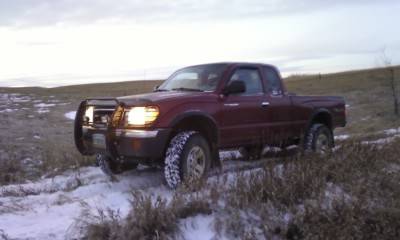
Photo12211614_1.jpg


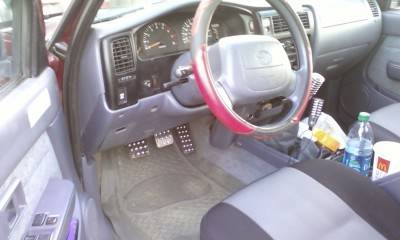
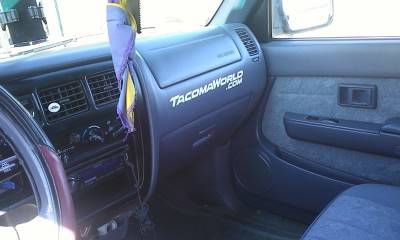
Interior

Photo07281950.jpg


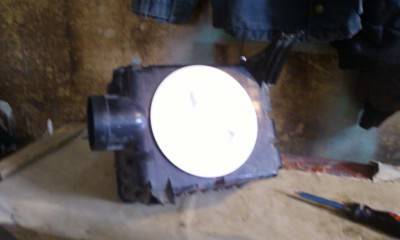
Deck Plate mod

Photo01221215.jpg

Photo01221215_1.jpg

Photo01221251.jpg


Leaf Packs

Before (horrible negative arc)
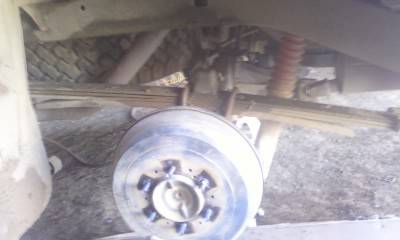
Photo03041239.jpg


Salvaged ford springs

Photo03041102.jpg


After- Set my stance at a slight rake, so they gave me about 3" of lift and the ride is a little stiff, but not harsh. It rides amazing with a couple hundred lbs in the back.
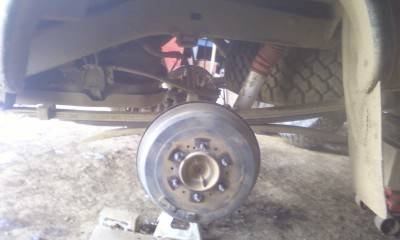
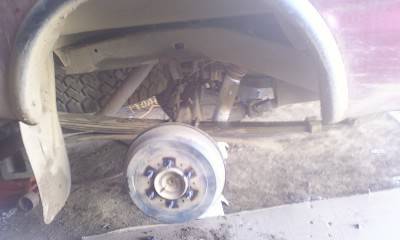
Photo03041614.jpg

Photo03041355.jpg


Door handles

Photo03251722.jpg

Photo03261742.jpg


Rims


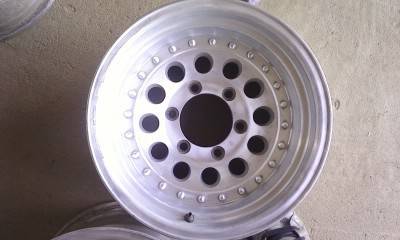
$150- I've been told eagle alloys, American racing outlaw series, but idfk exactly what they are. 15x10 with 3.5 BS aluminum rims.
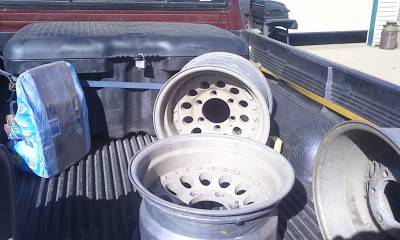
Photo03311018_1.jpg


It wasn't until after I got them that I discovered one had about a 1/2" long crack going down from the edge of the bead. I don't have a pic, but it isn't bent, just cracked (don't ask how, I have no Idea). I think a mig welder at school with an aluminum spooler should do the job, and once they get balanced they should be fine.

Cleaned 'em up with a drill wire wheel.
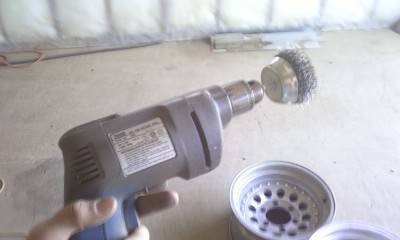
Photo03311453.jpg


Got a smaller one for touch up.
Photo03311547.jpg


Then sandpaper, and paint thinner.
Before:
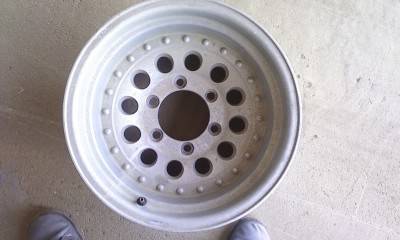
Photo03311439.jpg


After

Photo03311651.jpg


About 3 coats primer, 4 coats paint, 3-4 coats wheel coating later:
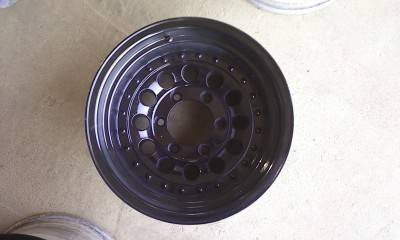
Photo03311819.jpg
cool.gif


(note: i didn't think it would pay to do the whole wheel, so I just did the outside face. Why paint anything but the part you will see?

And I have since painted the rivets silver for a nice accent.

Mounted with my old 31x10.50's
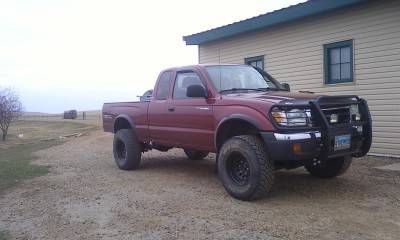
Photo04061459_1.jpg

Photo04061500.jpg

Photo04061459.jpg

Photo04061452_1.jpg
 
Last edited:
Build continued

After realizing I can only fit 25 out of my 86 pictures in one post I will just continue as if these are one post.

BPV bracket


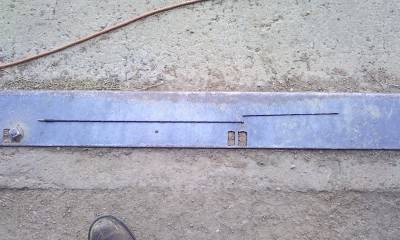
I've heard rumors about better brake performance because of a BPV (I think that's what its called) so I quick fabbed one of those. Its ugly as hell, i know, and the holes are a little crooked, but it works.

Photo03311848.jpg


Installed

Photo03311859.jpg


So far i haven't noticed a real difference in braking performance, but i've noticed the B.A.M.F ones move it over sideways a bit too, that might make all the difference, but i'm happy with my brakes, so whatever.


Hood Struts

Photo04111806.jpg


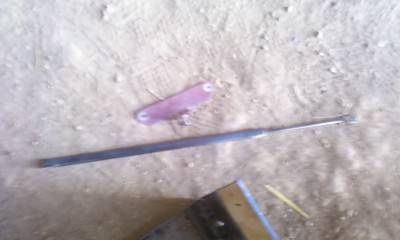
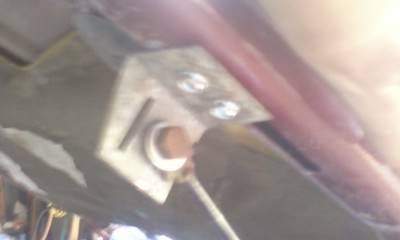
I could only get two brackets off the cars, the other were part of the fender. so I fabbed some out of some galvanized metal i found behind our shop.

Photo04111848.jpg


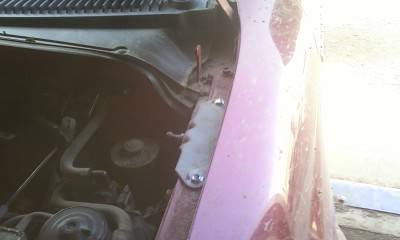
Heres the ones I got from the car

Photo04111806_1.jpg


I just drilled holes and used self tapping screws to mount them.

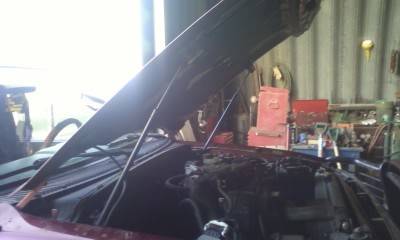
Installed! Good by flimsy hood stick!

Photo04111916.jpg


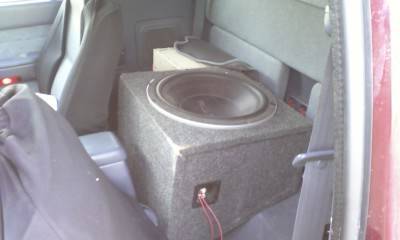
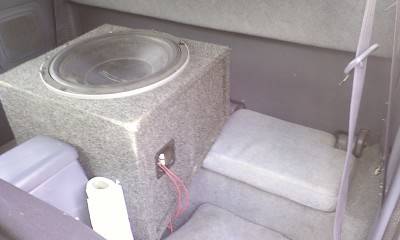
Sub (yes i can still fit 2 people back there)

Photo05151922.jpg

Photo05161657.jpg


Antennae Chop

Photo07151520.jpg

Photo07151523.jpg

How much I took off (right) compared to what's left (left)

Final product
Photo07151528.jpg


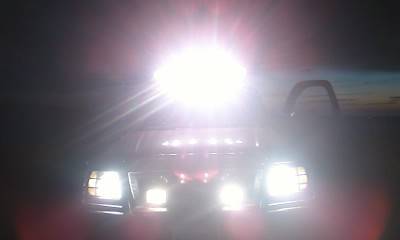
Light bar

Photo07232117.jpg


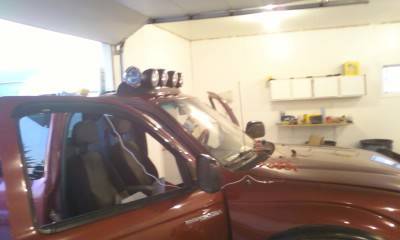
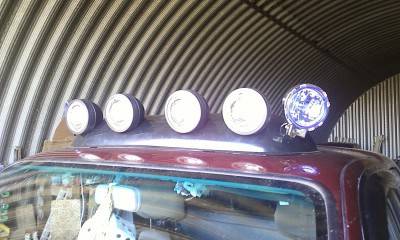
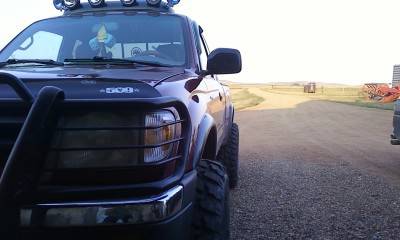
Got everything installed and its oh so easy to do. The light bar is made of molded plastic with the lights bolted on and comes complete with a wiring harness and everything you need to install it basically. It uses 3m adhesive to attach to the roof, and lemme tell ya, it sticks! i can pull on it all day and it'll rock the truck before it gives (it hasn't). It does fine on the road, and i'm pretty sure i'll be using a razor if I ever want to take it off.

Photo07242007_-_Copy.jpg

Photo07251820_1_-_Copy.jpg

(can you kinda see the gaps where there was no adhesive?)

Sadly, the major downfall is that you can't adjust your lights without cutting an access hole somewhere once it's mounted, so i had to be double sure they were where i wanted them. there is also a small gap between the roof and the light bar in a couple spots (for some reason they didn't want to run the adhesive the whole way across) and theres a good sized gap in the back since the back of the bar is flat and the cab is curved... I'll have to seal it all up with some silicone soon. Also It only came with four lights, and it looked too narrow for the pickup so i went to o'reillys and bought a cheap set that i mounted on the sides to make six. looks alot better that way. I also bought a couple smaller ones to mount for bed lights someday. I haven't got around to it yet since ill be on vacation in washington tomorrow through the 7th.

but anyways, here they are!
Photo07242006.jpg

Photo07251820.jpg

I made the side lights point off to the side a little since the original 4 are pretty much set straight and can only really move up and down.

Before

Photo07242108_1_-_Copy.jpg


After install

Photo07242107.jpg


Photo07242108.jpg


I LOVE THESE THINGS

New Tires

Photo08091913.jpg

Photo08091912.jpg

Photo08091913_1.jpg

Photo08041600.jpg
 
More Build!!!

Old toolbox/light setup
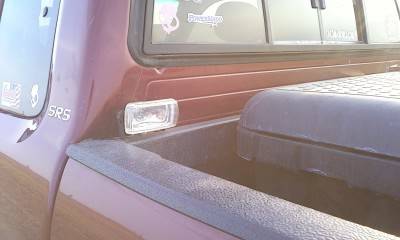
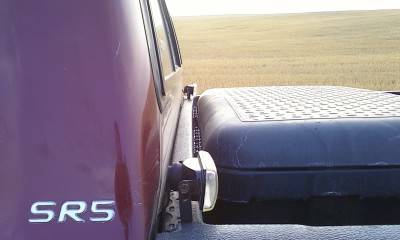
Installed some bed lights (and love them)
Photo09261733_2.jpg

Photo09261733_3.jpg

Photo09202030.jpg

Photo09202029.jpg

Photo09202029_1.jpg


Chrome Accents

repainted my rims, and chromed the rivets. I've always had a thing for chrome accents on black rims.
Photo09241328.jpg

Photo09241357.jpg


Poser shots


Photo09261732_1.jpg

Photo09261733.jpg

Photo09261728.jpg

Photo09261727.jpg


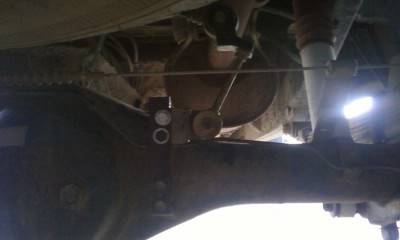
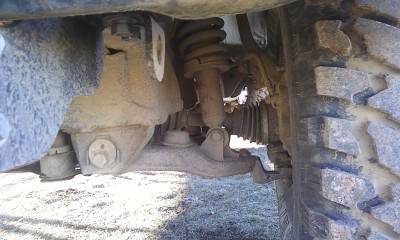
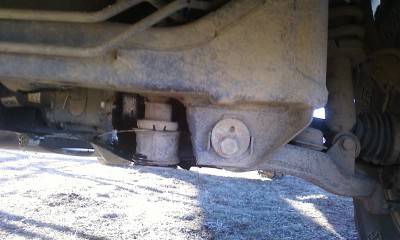
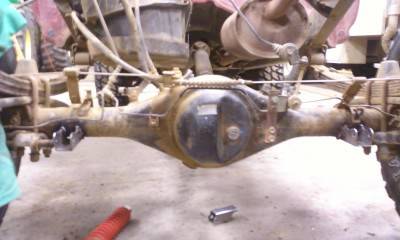
Diff Drop

Photo11171347.jpg

Photo11171347_1.jpg


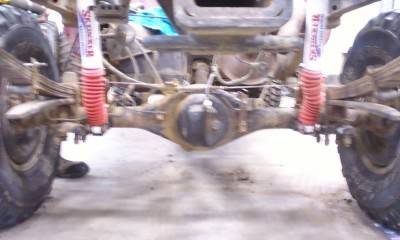
Shock Relocation

First i took off the bed to make everything easier on myself when doing it, plus i put on a 2 inch body lift to clear my tires better. I know I'll catch grief for it sooner or later but i'm happy with it, and its functional, so thats why I did it.

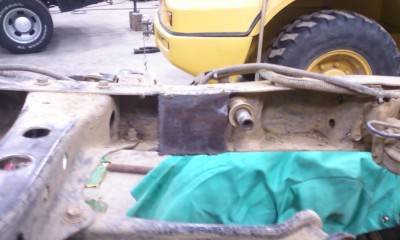
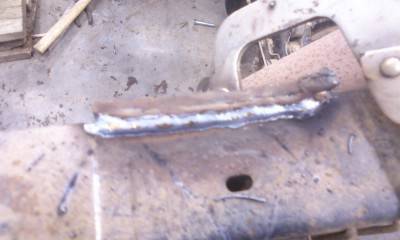
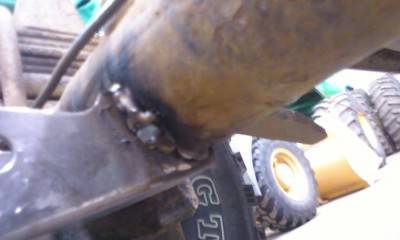
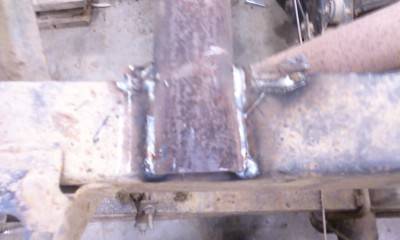
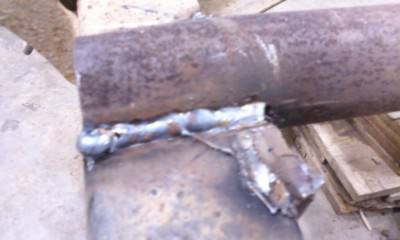
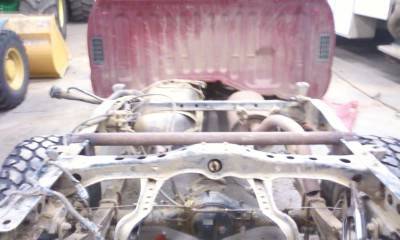
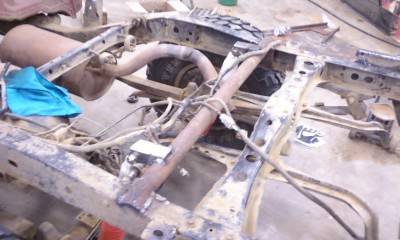
Back to the shocks, I boxed the frame with 1/8" diamond plate. I know it was overkill, but that's what I had to work with so I used it. I welded the bottom tabs ( I got four of them from summit racing for about twenty bucks) and did a crossmember with some 2" water pipe that I'm not sure of the exact wall thickness, but its heavy.
Photo12232004_1.jpg

Photo12232004.jpg

(don't worry, I ground that edge off after it was welded on.)
Photo12231958.jpg

Photo12232003_2.jpg

Photo12232003_1.jpg

(Bottom mount)
Photo12232100.jpg

Photo12232059.jpg

Photo12232047_2.jpg

Crossmember Done
Photo12232004_2.jpg

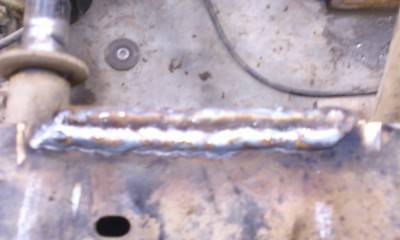
Bottom mounts. I know my overhead welds look like bird ****, but they're stronger than bird ****. They penetrated well and will hold. I'm pretty sure anyone whose ever done an upside down weld will say its easier said than done. Besides we can't all be JLee now can we?
Photo12251307.jpg

Top mounts done! I did have to doc my exhaust and we heated it up and bent it out of the way a little since it was in the PERFECT spot to be in the way of my shock. My dad wasn't going for cutting it off at the muffler so we did this instead. I'm gonna try and have a muffler shop bend fix me up with something, maybe move the muffler up and dump it in front of the tire.

Photo12251308.jpg

BOOM! to find the right position for the mounts I just jacked it up by the bumper to find full droop and welded the mounts in. I left about an inch of compression to compensate for any extra travel I might get while flexxed. I'm not a huge expert but I think that should work with 4.5 inch bumpstops when I get some. And if I should over extend I would rather bottom out the shock compressed than pull it apart from having it over extended.
Photo12232339_1.jpg


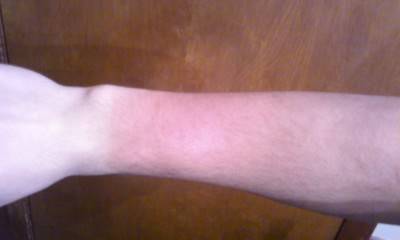
For some reason I thought it was a good idea to weld with my sleeves rolled up and got a nice burn for it. STOOOPID
 
...and more build

Body Lift :whistling2:
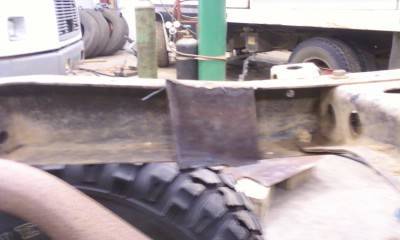
I also as mentioned before added a 2" body lift to compensate for tire rub (I didn't like trimming) and I feel pretty good about it. Only problem I hit was that my steering shaft didn't extend enough and the kit didn't come with a spacer so I ended up building one out of two pieces of diamond plate with a section of pipe in between. No pictures but i'm pretty sure the steering shaft would give out before my spacer did, its pretty solid, and it works well. Now I've done tons of research on body lifts and seem plenty of posts on them and from what i can see as long as you dont go over 3" and you don't go ramping your truck off something or hitting dirt whoops at 80 mph you should be ok. I'm not sure of the brand (I bought it used as a 3" and cut it down to 2") but they are polyeurothane spacers and I believe I did ok with it. I got new hardware before installing it and made sure everything was tight and had washers.

Here it is.
Photo12251448.jpg

Photo12261328.jpg

Photo12271355.jpg

Photo12301512.jpg

Photo12271354.jpg


I'm not a big fan of the way the frame looks now but its not terrible and I eventually plan to either get nerf bars or sliders, since I haven't decided how dedicated I want it to be to wheeling yet. I live in North Dakota, so there isn't really enough rocks (let alone trails) to justify armor and sliders just yet.

Only thing I haven't buttoned up yet is the bed spacers and splash guard, which i think I'm going to wait on anyway until spring when its tolerable enought to work outside since it wont fit in my garage anymore.
And also my grille guard is takin a break for the time being until I can either fab some brackets to raise it up, but I think I may just put it on my mom's 4runner and save up for a trail gear bumper in the future.

Toolbox

Photo12301513_1.jpg
 
So far they're amazing in mud and do pretty good on ice and snow, but probably not as good as say duratracs or bfg's in snow. Road manners are good, they ide smooth and have stayed balanced good. Ey have worn pretty well too, but i've only got maybe 5k miles on them. They are starting to get a little noisy though. I like them though!
 
So far they're amazing in mud and do pretty good on ice and snow, but probably not as good as say duratracs or bfg's in snow. Road manners are good, they ide smooth and have stayed balanced good. Ey have worn pretty well too, but i've only got maybe 5k miles on them. They are starting to get a little noisy though. I like them though!

Cool... Mine did pretty well for the time that I had them. Only took them through mud once but they didn't let me down and cleaned out pretty well.
 
I like 'em, but i think i might try somethin a lttle more mellow next time around... but it depends on if i have another vehicle by then.
 
Re-installed my bed lights on my toolbox!:thumbup:

Photo03291242_1.jpg

Photo03291242.jpg


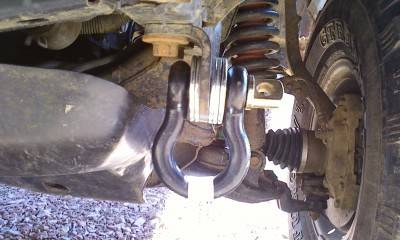
Put my clevis on and shimmed it up with some washers

Photo04061100.jpg


Washed.
Before
Photo03291814.jpg


After
Photo04061055.jpg

Photo04061057.jpg

Photo04061057_2.jpg

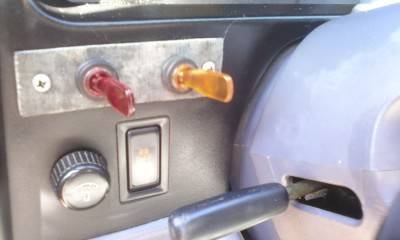
Switch panel I did last week. Still need to paint it though.

Photo04061057_1.jpg
 
Nice rig! Reminds me of my 2000 PreRunner I wish I still had. However, Toyota treated me right when they bought her back when the frame rotted out so I got an upgrade to an '06 Tacoma 4x4 which I'm just as happy with. :thumbsup:
 
Just keep an eye on your frame for rust, there is 2 yrs left for yours if it starts to rust out. Toyota will buy it back at 1.5 bluebook. They bought mine 12/17/2012. You should of got a letter from them extending the frame warranty to 15 yrs from in service date around 2008, I did and just put it in my glovebox. When the driver side leaf pack started pulling away from my frame I took it in, they kept it and said they were buying it back. Gave me a 2013 Tacoma freebie to drive till I got the check from them on 12/31/2012. Jan 11, 2013 I bought my current Tacoma. '95~'00 they buy back. '01~'04 they replace the frame.
 
Just keep an eye on your frame for rust, there is 2 yrs left for yours if it starts to rust out. Toyota will buy it back at 1.5 bluebook. They bought mine 12/17/2012. You should of got a letter from them extending the frame warranty to 15 yrs from in service date around 2008, I did and just put it in my glovebox. When the driver side leaf pack started pulling away from my frame I took it in, they kept it and said they were buying it back. Gave me a 2013 Tacoma freebie to drive till I got the check from them on 12/31/2012. Jan 11, 2013 I bought my current Tacoma. '95~'00 they buy back. '01~'04 they replace the frame.

Just to let you know, they no longer replace the frames on any 1st gen, say there are NO more frames!
However they don't mention that they won a 26 million dollar lawsuit against Chrysler who made the frames.
 
Back
Top